


 شـريـط الاهـداءات
 |
|
| قسم دروس التصميم (مونتاج - فوتوشوب) كل مايتعلق بالتصاميم ودروس الفوتوشوب الأجنبية والعربية وغيره من براج التصميم |
 |
|
|
أدوات الموضوع | انواع عرض الموضوع |
 05-05-2015, 02:10 PM
|
#1 | ||||||||||||
 
|
  نبدأ باسم الله الدرس Step 1 – Size Open the background stock. The size of the stock is width: 2250px and Height: 1500px. 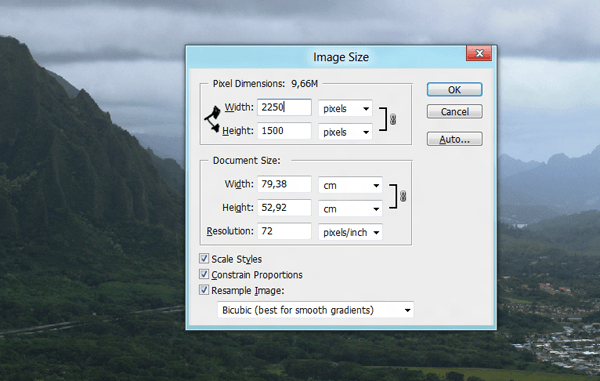 Step 2 – Smart Object the background into a smart object. Pressing right click in the layer thumbnail and selecting the option Convert to smart object. 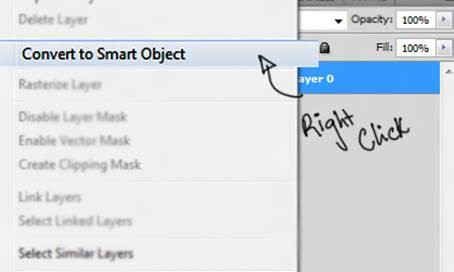 Step 3 – Smart Object Press double click in the smart object thumbnail. 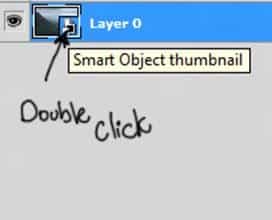 Step 4 – Edit Now a new window will pop up. This allow you to edit the smart object. So press ok. 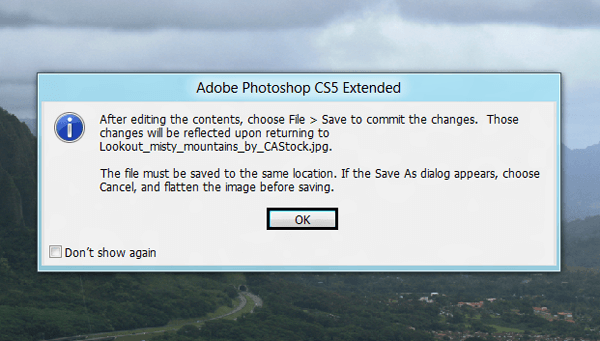 Step 5 – Duplicate Now press Ctrl+J to duplicate the layer in case you need to go back to the original image.In this layer you will use the patch tool to hide undesired parts of the image. 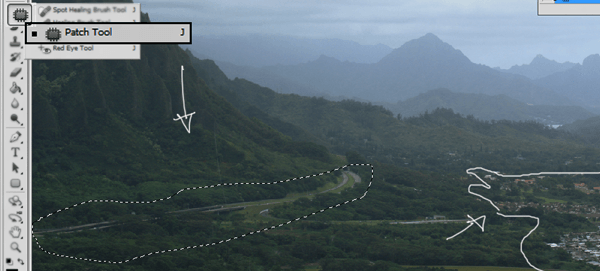 Step 6 – Duplicate and Change color Press Ctrl+J to duplicate the layer and then press Ctrl+U and in the option saturation put -70. The image will have this color. 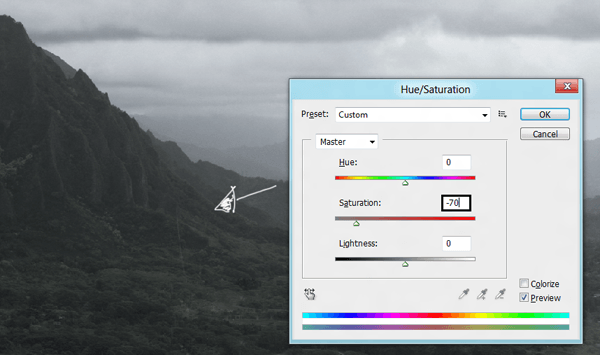 Step 7 – Save The the changes you made to the smart object press ctrl + S and close the window. 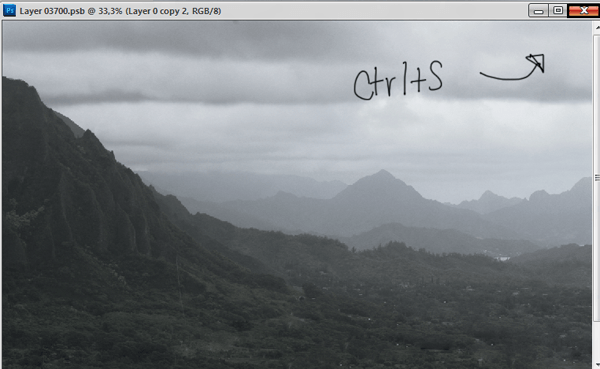 Step 8 – River Now go to folder you have the stocks and grab the image of the river. You will see that the image is an smart object itself, you can change the size clicking in the corners. 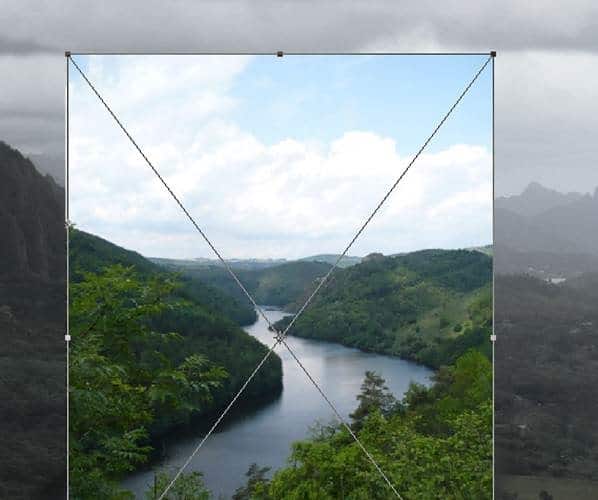 Step 9 – Layer Mask Create a layer mask to erase the undesired parts of the image. Pick a soft round brush to paint over the parts you want to remove. You will have something like this: 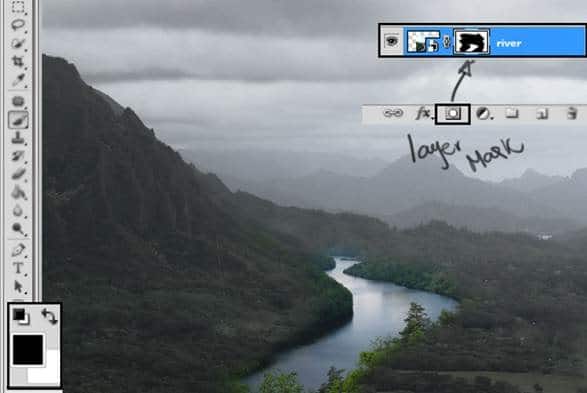 Step 10 – Hue and Saturation Go to Create a new fill or adjustment layer and click in the option Hue/Saturation. 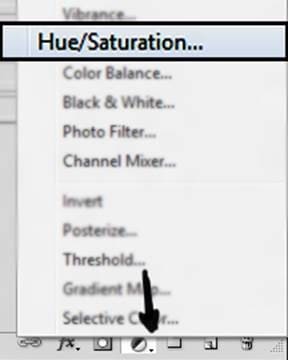 Reduce the Saturation to -60. 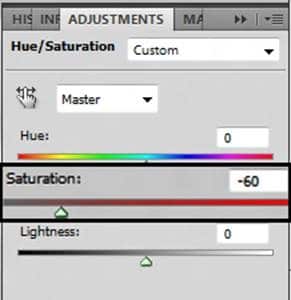 Step 11 – Apply to one object To Apply the changes only in the layer of the river you have to press right click over the Hue and Saturation layer and select the option Create Clipping Mask. 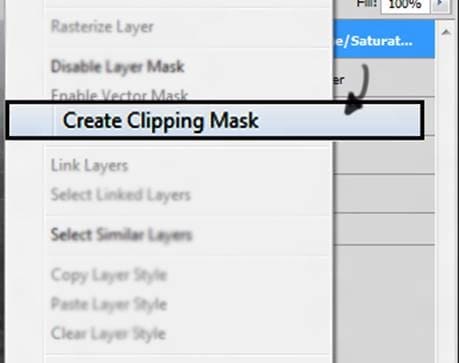 Step 12 – Duplicate Now go back to the Background image and duplicate the layer pressing Ctrl+J and then change the layer mode to soft light. 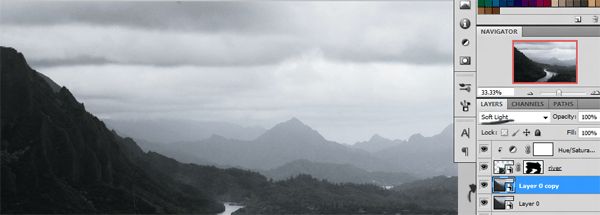 Step 13 – City Grab the image of the city, and repeat the process of creating a new layer mask to blend the layer to the background 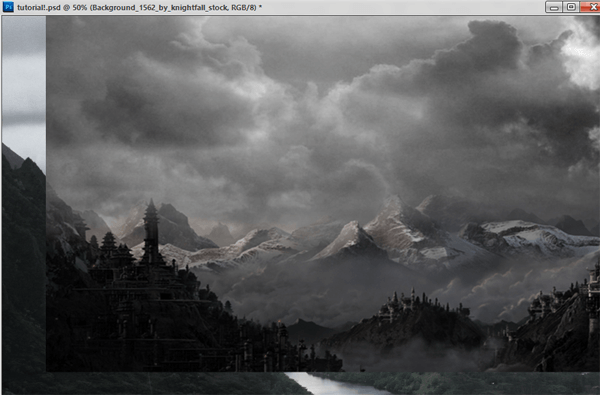 Layer mask:  Step 14 – Blur Now go to filters – blur – Gaussian blur and add 2 radius pixels to get this result:  Step 15 Now pick a castle and resize it to fit the mountain like this:  Step 16 – Layer Mask Create a layer mask and like you did before hide with the brush tool the parts you don’t want to use of the image.  Step 17 – Layer mode Change layer mode to overlay.  Step 18 – Waterfall Add a image of the waterfall and resize it to fit the mountain.  Step 19 – Layer mask Use the layer mask technique once again to blend the waterfall. 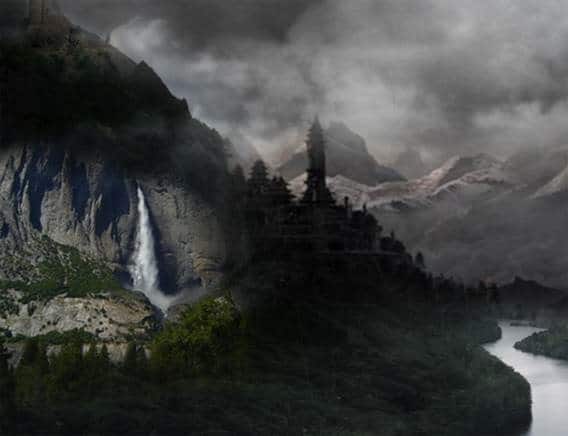 Change layer mode to soft light  Step 20 – More Elements Now add more elements to the image, can be mountains, castles, ruins, all of this to give to the image a better look. Use the layer mask technique you learned in the steps before in each of the elements and remember to change layer mode to soft light or overlay.  Step 21 – Add a Stone Pick a stone stock and add to the image, resize it pressing Ctrl+T.  Step 22 – Select the stone Now with the Polygonal lasso tool select the stone.  Step 23 – Layer Add a layer mask to the image to have the selection.  Step 24 – Duplicate Duplicate the layer pressing Ctrl + J and then change the layer mode to multiply with 60% of opacity.  Step 25 – Moss Add a moss layer, create a layer mask and hide the undesired parts. 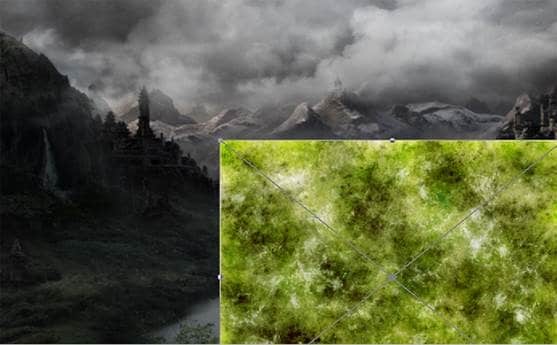 Result:  Step 26 – adjustments Use the layer mode in soft light and reduce the saturation to -40.  Step 27 – Model To hide the original background of the model, you have to use the polygonal lasso tool and select only the model.  Step 28 – Layer Mask Now add a layer mask to the image, In that way the selection you made is going to be the only thing you see.  Step 29 – Dress Duplicate the layer and select only the model’s dress using the same technique as before. Using layer mask and with the brush hide the undesired parts.  Step 30 - Now go the the layer mask and choose the option add mask to the selection to have an editable layer of the dress.  Step 31 – Change size and color. Now press Ctrl +T give a right click and choose the option warp to modify the dress, press enter when you are done to save the changes.  Step 32 – Converting Convert the dress layer into a smart object pressing right click in the layer thumbnail and then selecting the option Convert Smart Object.  Step 33 – Black dress To make the model’s dress black you have to reduce the saturation to -100.  Step 34- make up Now for the make up I just paint over the model’s face with pink tones in the cheeks and lips and some brown in the eyebrows. Also add some eye shadows.  Step 35 – Hair You can paint the hair with the help of some hair brushes pen tool or tablet.  Step 36 – City lights Now to make the city lights, create a new layer and with a soft round brush paint to create lights. You can use the brush in 5 px or less.  Step 37 – Blur Go to filter – blur – Gaussian blur and select 2 px radius to give a softer look. Also you can use the eraser with 30% of opacity in some parts to blend the lights.  Step 38 – Sky Put a layer of a sky and add a layer mask to it.  Step 39 – Hide Hide all the blue parts and just leave like this:  Step 40 – Layer mode Change layer mode to soft light and reduce the opacity to 60%  Step 41 – Light Paint light effects with a soft round brush with 50% of opacity and 50% of flow.  Step 42 – Soft Light Change layer mode to soft light and the opacity to 60%.  Step 43 – Shadows Create a new layer and use it in soft light mode. Paint with a soft round black brush with 50% of opacity and 50% of flow.  Step 44 – Freeform Pen Tool Nowpick the freeform pen tool to make details stand out.  Step 45 – Paths After you make all of the strokes give a right click and press the option stroke path 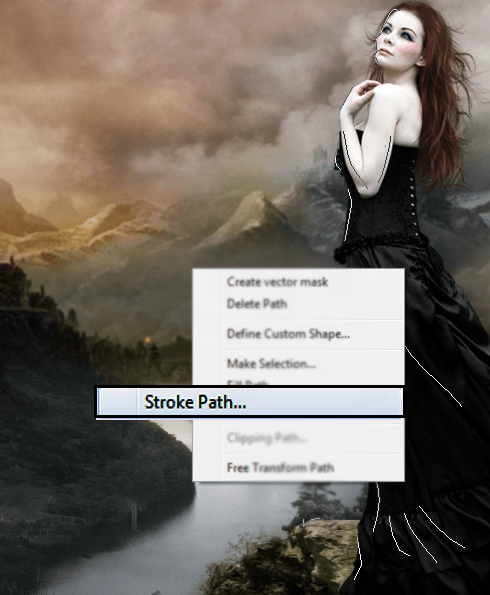 Then select brush pressure: 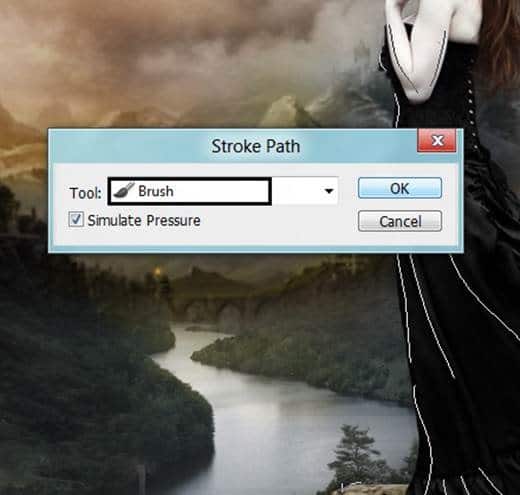 The result is this:  Step 46 – Blur Pick the blurand also the smudge tool and pass over the stroke you just made to give a softer look. Also reduce the opacity of the layer to 60%.  Step 47 – Lights As you did before pick a soft round brush in a white or yellow tone and paint around the model to create lights, make sure the brush have 50% of opacity and 50% of flow.  Step 48 – Layer mode Change the layer mode to soft light, if you think is necessary you can reduce the opacity. Repeat the process with warm tones around the image. In this way you will be creating the direction of the light. Start in the left corner of the image with more intensity and less intensity in the right area of the image.  Step 49 – Dark Now in a new layer in soft light mode paint with a black brush with 50% of opacity and 50% of flow to get this result: 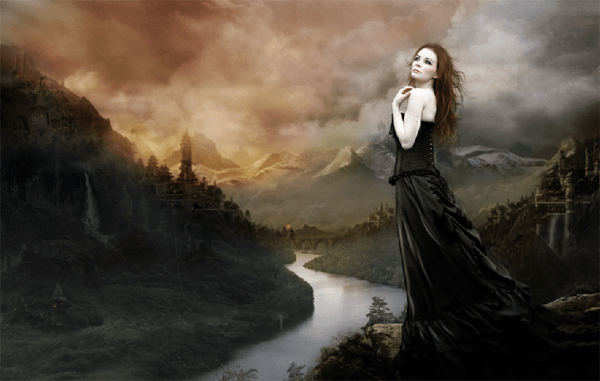 Final Results That’s it   |
||||||||||||

|
| إعلانات google |
|
|
|
| يتصفح الموضوع حالياً : 1 (0 عضو و 1 زائر) | |
|
|


 العرض العادي
